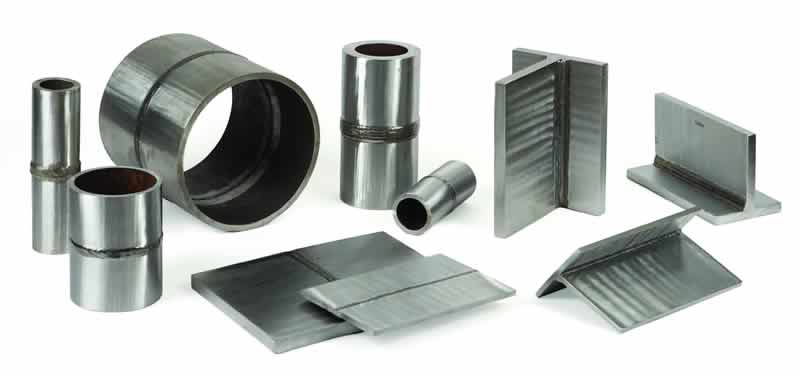
Standard Flawed Specimens
Standard Flawed Specimens

Advanced weld flaw evaluation
Standard Flawed Specimens are designed and manufactured to meet the requirements of all known internationally recognised Qualification Programme.
- Advanced training and practice prior to qualifications on:
- Flaw detection
- Flaw sizing
- Flaw interpretation
- Realistic size welds
- Common weld geometries
Sonaspection flawed specimens are avaliable either individually or in sets.
Individual specimens
Contain three different flaw types and are:
- All different sizes
- Uniquely numbered
- Supplied with NDE reports
- Supplied with acceptance/rejection criteria
Recommended sets
- Contain a selection of individual specimens as above, with an average of three flaws per specimen
- Contain at least one example of each flaw type listed in the flaw table
- Contain a minimum total weld length of 360cm (144”)
Custom sets
Manufactured specifically for recognised qualification schemes – for example ASNT, ACCP and API.
For Level II training, practice and qualification i.e. ACCP, SNT-TC-IA, BS EN ISO 9712, API and others.
Standard specifications
Sonaspection reserves the right to alter specifications shown at any time.
Types/Range
The range of flaws available depends on the type of testing being used. See appropriate Flaw Table for full details
Material tolerances
Weld length for plates, tees and Ys, all 30cm (12”) ±5%.
Weld length for pipes, nozzles and nodes, all as per diameter
Thickness ±10%
Diameters ±10%
Weld length for pipes, nozzles and nodes, all as per diameter
Thickness ±10%
Diameters ±10%
Flaw size range
Flaw length from 1 cm (3/8″) to 4.5 cm (1 3/4″)
Flaw through wall height 0.3 cm (1/8″) to 0.6 cm (1/4″)
Flaw through wall height 0.3 cm (1/8″) to 0.6 cm (1/4″)
Surface finish
Parent material adjacent to weld will be a suitable finish for testing the weld profile, either ‘as-welded’ or ground flush
Flaw tolerances
Flaw length ± 0.3 cm (1/8″)
Flaw height ± 0.2 cm (5/64″)
Distance from datum ± 0.3 cm (1/8″)
Depth from surface ± 0.2 cm (5/64″)
Flaw height ± 0.2 cm (5/64″)
Distance from datum ± 0.3 cm (1/8″)
Depth from surface ± 0.2 cm (5/64″)
Final inspection
All specimens are subject to in-house Visual and Non-Destructive Examination. This work is carried out by experienced and approved technicians
Material types
All standard-size specimens are manufactured from carbon steel. For plate, tee and Y specimens material conform to EN 10025 Pipe specimens is to ASTM, ANSI, API or similar (Nozzles and nodes are a combination of both)All pipe sizes are measured outside diameter
Corrosion protection
All specimens are coated with a clear corrosion-resistant material before leaving the factory
Inspection
All materials are subject to 100% visual and Non-Destructive Examination to ensure that they are free from flaws which may interfere with product performance.
Packing
All export orders are suitably packed